Scrub Cap sewing tutorial
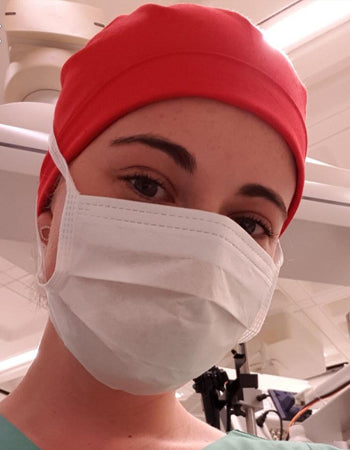
We'll show you how you can easily sew your own adjustable surgical cap. Download our surgical cap pattern, follow the step-by-step surgical cap sewing tutorial and sew your own surgical cap with ease!

Your next sewing project
Here comes your new favourite surgical cap!
Are you looking for sewing instructions for a surgical cap that is not only practical, but also comfortable and stylish? Then you've come to the right place! In this article, you will find detailed step-by-step instructions and a free surgical cap pattern that makes sewing really fun – whether you are a beginner or a pro at the sewing machine.
Our surgical cap is particularly popular with nursing staff and medical professionals – not only because of its well-thought-out design, but also because it can be flexibly adapted to different hair lengths. Whether you have short hair, a long ponytail or a voluminous bun – this surgical cap fits perfectly!
It's best to sew the cap from breathable cotton – this ensures it is comfortable to wear, even on long days. So grab your fabric, scissors and sewing machine – with this surgical cap pattern, your next sewing project is guaranteed to be a complete success. Have fun sewing!
And if you don't feel like sewing yourself, you can buy this and other surgical caps conveniently in our shop for surgical caps.

Step-by-step tutorial for surgical cap pattern
Step 1: Preparation
What you need:
- Sewing machine
- Overlock sewing machine
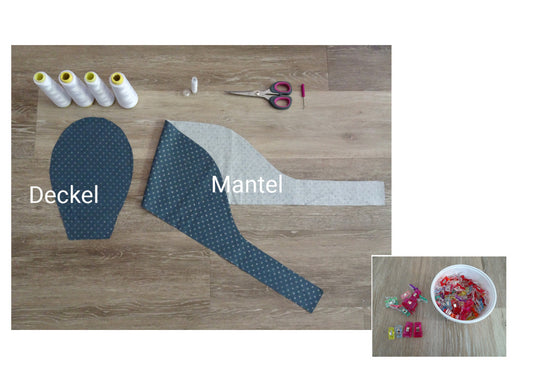
- Fabric cut for the ‘lid’
- Fabric cut for the ‘coat’
- Thread reel + bobbin
- 4x overlock cones
- Approx. 8-12 Wonderclips and pins
Step 2: Overlock the lid
Outside facing upwards
Overlock seam protrudes on the left and right
Step 3: Sew the lid
Inside of the lid
Fold the overlock seam inwards close to the edge and stitch with the sewing machine. Start the seam close to the edge and lock on both sides.
Step 4: Secure lid and coat
Place both centre lines on top of each other and secure with a Wonderclip.
Clamp the lid along the curve at the edge of the coat.
Continue until the lid is fixed to the coat.
Step 5: Overlock lid and coat
Start at the bands
Around the curve
Around the edge
It should look like this after coat and lid is secured with the overlock
Step 6: Sew the ribbons
Fold the ends of the ribbons inwards with a narrow edge. Then stitch and lock.
Step 7: Prepare the fold-over edge
Position the surgical cap as shown in the image. Fold the overlock seam slightly to the inside, then turn up approximately 3.5 cm and secure with pins.
Fix the rest with pins until you reach the beginning of the ribbons.
Fold the ends of the ribbons towards the middle and then fold them again. Repeat this process along the entire length of the ribbon. Secure the fold with clips.
This is how it should look when the fold is pinned and the ribbons are stapled.

Step 8: Sew the fold-over edge
Start at the end of the band with a lock stitch. Then stitch along the fold and lock again when you reach the other band.
Done! Now turn the surgical cap right side out, put it on and adjust it to your desired size using the fold.
And if you don't feel like sewing, you can discover our great range of surgical caps!
Print pattern now:


